
Add Supplier
Users can create unlimited Suppliers. Once a supplier is created, users can edit the information entered or associated with it.
To add a new supplier, follow the steps below:
1. In the Parts and Ordering group of the Home ribbon, click the Suppliers button.
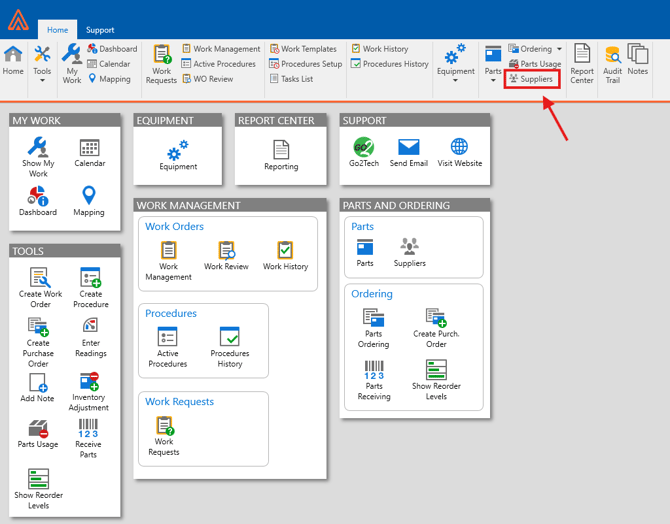
2. The Suppliers section will open.
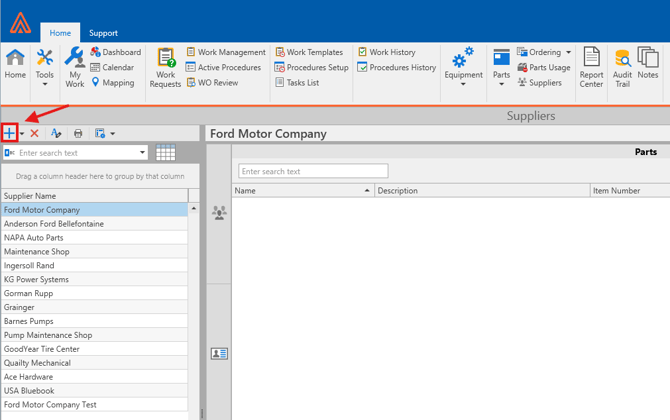
3. Click the + icon in the sections toolbar.
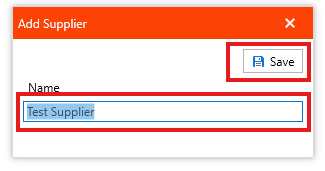
4. Type the new suppliers name under the Name heading.
5. Then, click the![]() button in the upper right-hand corner of the window to confirm the addition.
button in the upper right-hand corner of the window to confirm the addition.
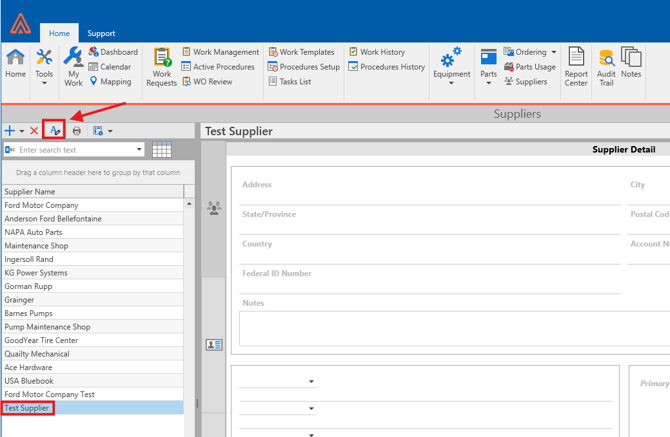
6. The newly created Supplier will now be listed in the Supplier grid.
Rename Supplier
To rename a supplier, follow the steps below:
1. Select the Supplier Name from the grid which needs to be renamed.
2. Then, click the Rename Icon next to the Print.
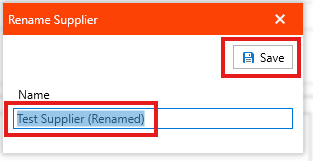
3. Type a new unique supplier name in the field under the Name heading.
4. Then, click the ![]() button in the upper right-hand corner of the window to confirm the addition.
button in the upper right-hand corner of the window to confirm the addition.
5. The newly renamed Supplier name will now be listed in the Suppliers grid.
Delete Supplier
To delete a supplier, follow the steps below:
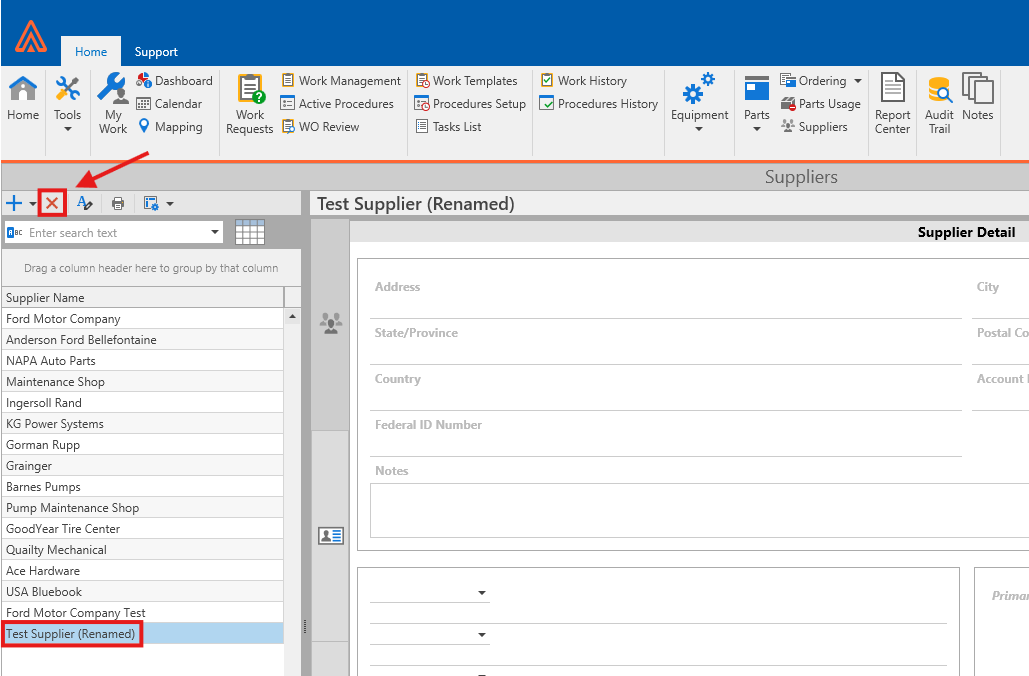
1. Select the Supplier Name from the grid which needs to be deleted.
2. Then, click the ![]() [Delete] to delete the record.
[Delete] to delete the record.
3. Carefully read the information in the Confirm Deletion window.
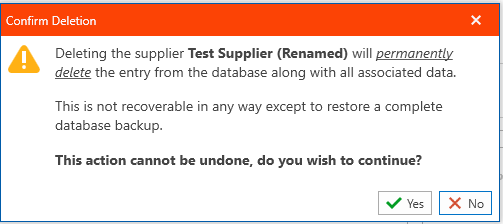
4. Click the green ![]() [Yes] or
[Yes] or ![]() [No] button to confirm the deletion of the selected Supplier.
[No] button to confirm the deletion of the selected Supplier.
5. The newly deleted Supplier will no longer be accessible from inside of Antero.